

Node.js is a JavaScript runtime built on Chrome’s V8 Javascript engine. It is designed for building scalable network applications.
In this blog, we will see how to install Node.js on a CentOS 8 machine. First, we will install the recent stable version of node.
Installing node.js in Linux
Step1: Add node.js repository
sudo dnf install -y nodejs
curl -sL https://rpm.nodesource.com/setup_16.x | sudo -E bash -
Step2: Install node.js
sudo dnf install -y nodejs
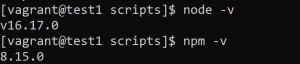
Step3: Check the version to confirm the installation
Installing node also installs the package manager npm. We can check it with the following commands.
node -v
npm -v
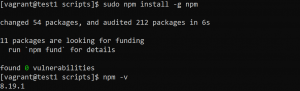
To upgrade the npm version use the following command.
sudo npm install -g npm
Installing node.js in Windows 11
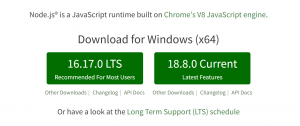
Step 1: Download the ‘.msi’ installer.
- Visit the following link and download the installer.
https://nodejs.org/en/
- We will download the LTS version.
Step2: Run the installer
- Run the installer by double click on it.

- Click Next.
- Accept the license agreement and click Next.
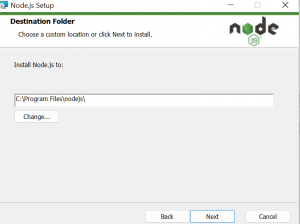
- Select the destination folder where you want to install node and click Next.
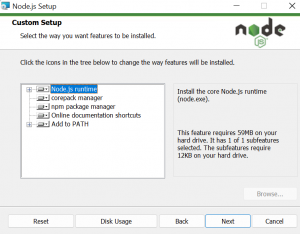
- Select Next in Custom setup.
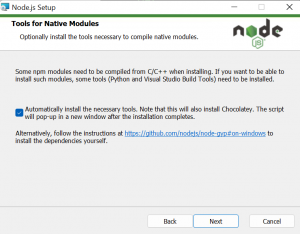
- Allow to automatically install necessary tools and select Next.
- Click Install.

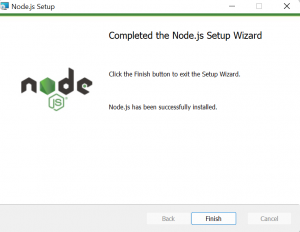
- Click Finish after successful installation.
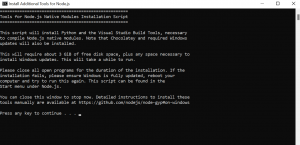
- Next, additional tools will be installed. Press any key to continue.
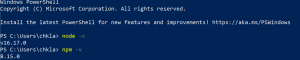
- Once completed, confirm installation by running the following command in PowerShell or command prompt.
node -v
npm -v
Please contact our technical consultants if you have anything related to software development to be discussed.
